Modular Compact Rheometer:
MCR 702e
- The groundbreaking high-end rheometer in a class of its own
- One rheometer, two drive units, all test modes
- Ready for DMA in torsion, tension, bending, or compression mode
- The most extensive accessory portfolio
- The high-end rheometer for sophisticated rheological research
- One rheometer, two drive units, all working modes
- Ready for DMA in torsion, tension, bending, or compression mode
- 200+ accessories for endless possibilities in research and development
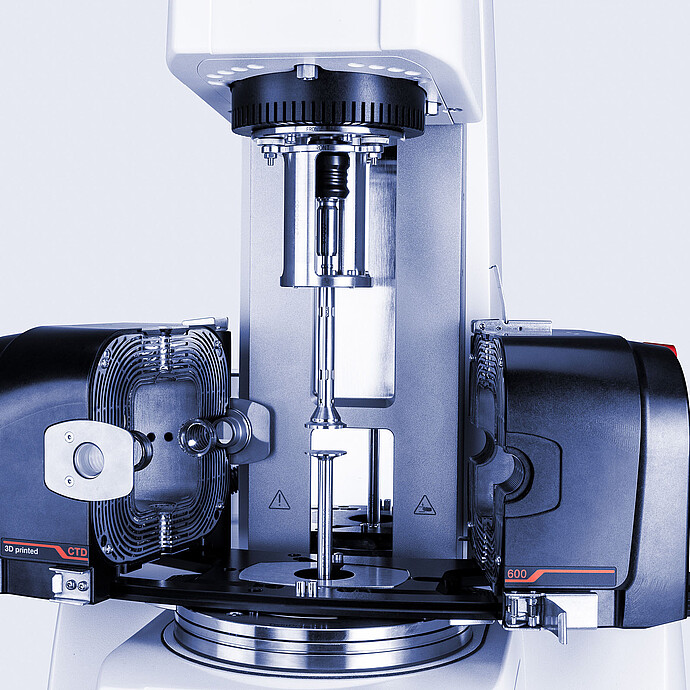
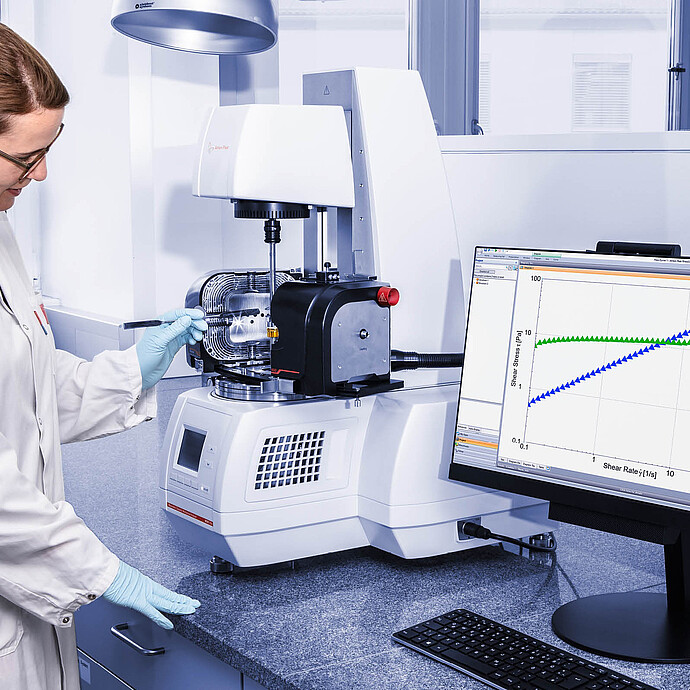
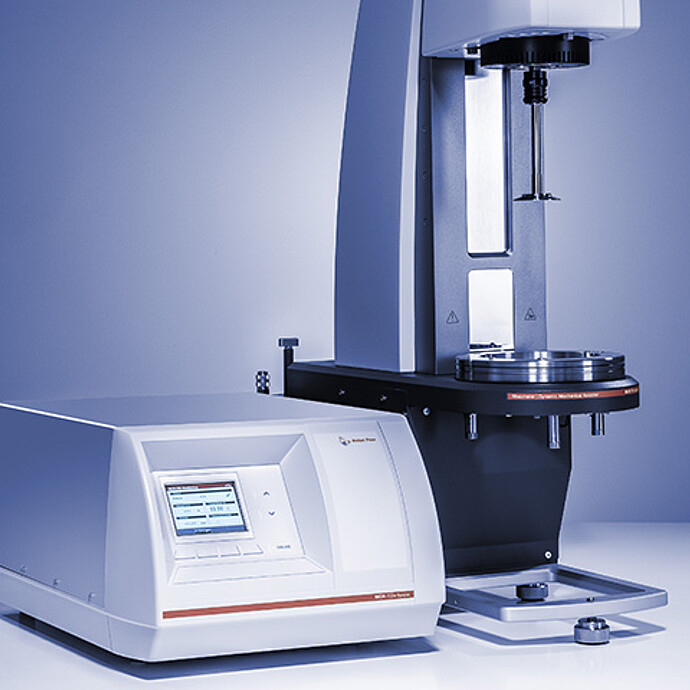
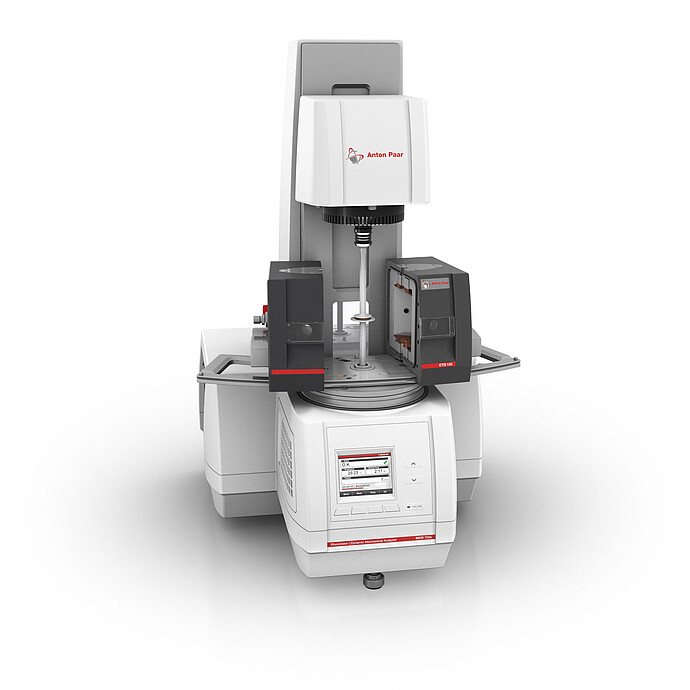
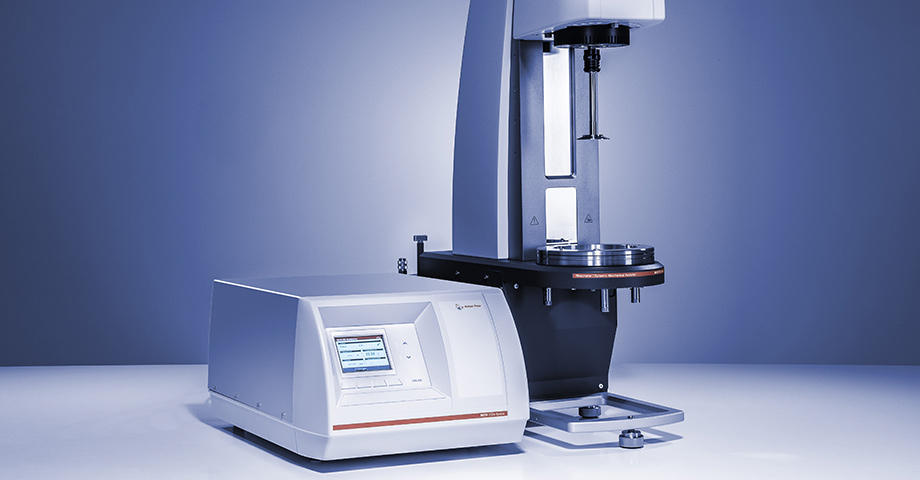
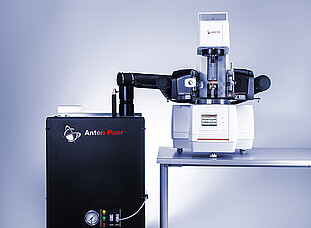
The two high-end models of the new MCR Evolution series, MCR 702e MultiDrive and MCR 702e Space MultiDrive, are the most versatile rheometers available. Alongside all standard rheological test modes they can be equipped with an additional lower drive unit. This means that you can perform rheological tests with two torque transducers and drive units at once – opening up multiple possibilities for your research. There are no limitations regarding the used test modes, measuring systems, accessories, and temperature devices, and no limitations on measurement precision. Additionally, MCR 702e Space MultiDrive provides the maximum working space and thus makes it easy to work with accessories and additional instruments. In short, this is the system of choice to cover all possible rheological applications both now and in the future.
Key features
One rheometer, all rheological working modes
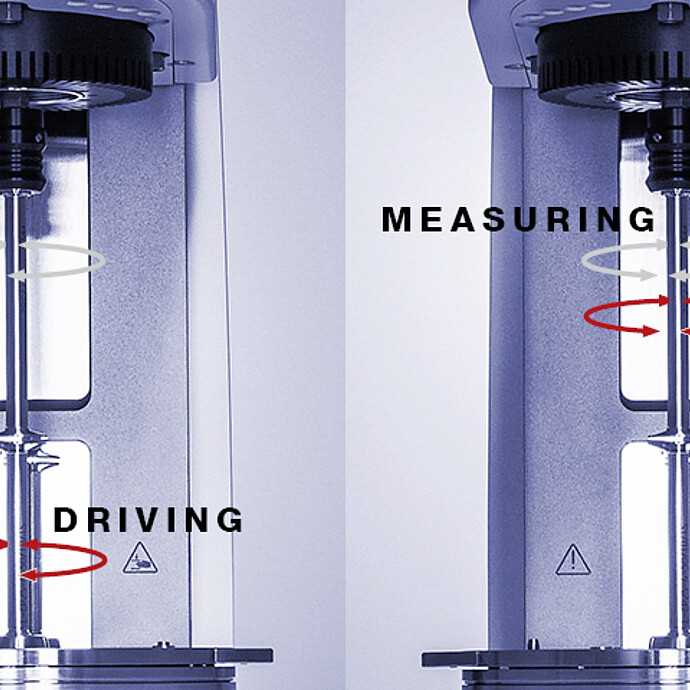
The combination of two air-bearing-supported rotational drive units enables you to perform rheological measurements in Combined Motor Transducer (CMT) mode and in Separate Motor Transducer (SMT) mode. Using a single air-bearing-supported EC motor in the CMT mode, you can make the most of the motor’s real-time position control (TruStrain™) and perform ‘classic’ stress-controlled tests. In the SMT mode one motor is operated solely as a torque transducer, while the other motor is used as a drive unit only, to get the purest rheological results even in the transient regime of the measurement (e.g. stress relaxation, start-up shear) and over a broad range of amplitude and frequency in oscillatory measurements. With all their working modes MCR 702e MultiDrive and MCR 702e Space MultiDrive complete the successful MCR series and contribute to making the MCR rheometers the most cited instruments in scientific rheological investigations.

Push back the limits of material characterization with counter-movement mode
In the counter-movement mode, the rheometer employs both air-bearing-supported EC motors as drive units as well as torque transducers. Both motors are easily set to move in opposite directions, which can be used e.g. to create a fixed stagnation plane in a sample for advanced structure analysis of materials under shear using the microscope. This mode is also used with a universal extensional fixture for extensional tests down to minimal measured torques. Regarding speed, the counter-movement mode simply ‘doubles the score’ – up to a maximum speed difference of 6000 rpm which significantly broadens the shear rate range for high shear applications.
Ready for DMA in torsion, tension, bending, compression, and more
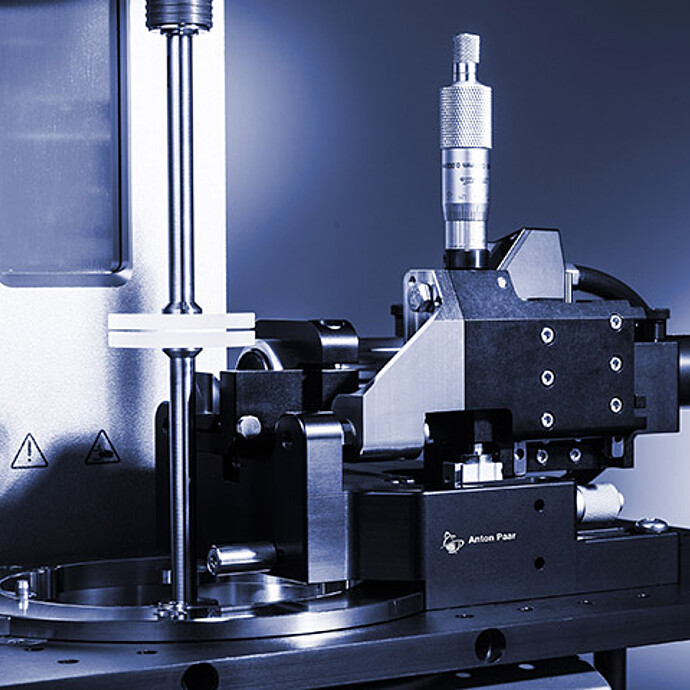
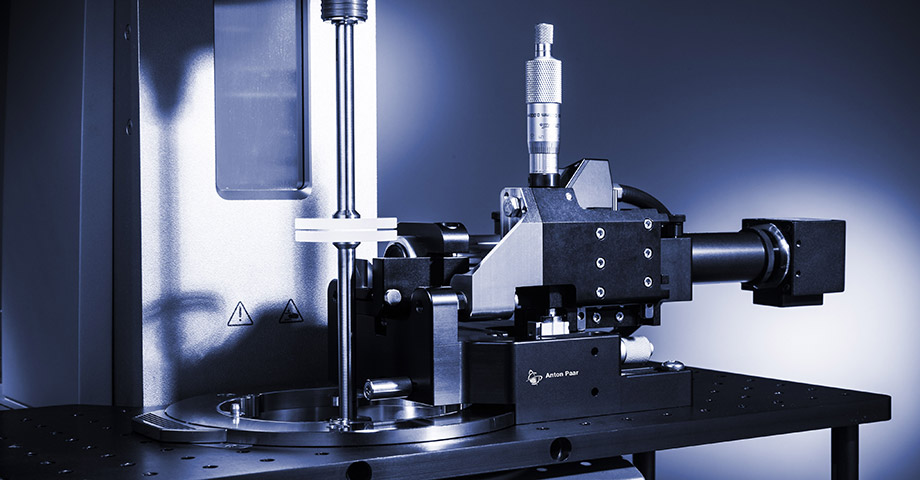
Instead of a lower rotational drive, you can insert an additional lower linear drive to perform DMA in bending or compression mode using measuring systems such as three-point-bending, cantilever, or parallel plates. Furthermore, in combination with geometries for films, fibers, and rectangular samples the linear drive can be used to perform DMA in tension whereas the upper rotational drive is used for DMA in torsion – both within a single test definition. Additionally, the linear drive is capable of performing thermomechanical analysis, creep and creep recovery tests, or relaxation tests. Read more about the DMA capabilities.

The best now better: The device for applications that were previously unthinkable
The new MCR 702e Space MultiDrive is designed to provide a unique maximized workspace below the rheometer support plate and on both sides of the instrument. This allows not only the easy installation of accessories but also the easy combination with additional external setups suitable for advanced material characterization. For example, MCR 702e Space MultiDrive allows you to combine confocal microscopy and rheology. In addition, the rheometer's separate electronics box makes it now possible to set up the rheometer where space is limited or in a laboratory glovebox, even when using inert gas (nitrogen, argon) atmosphere e.g. for high-temperature measurements on samples with a certain hazard level.
Measure and control the temperature where it matters
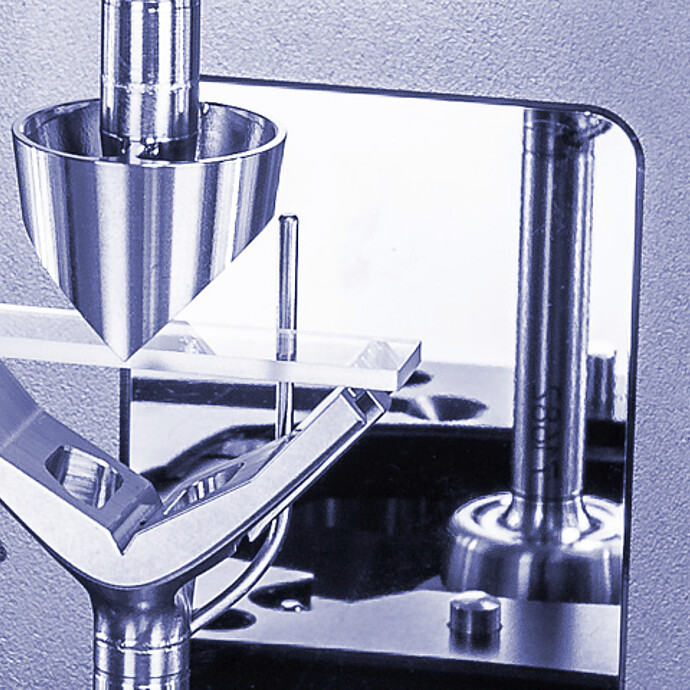
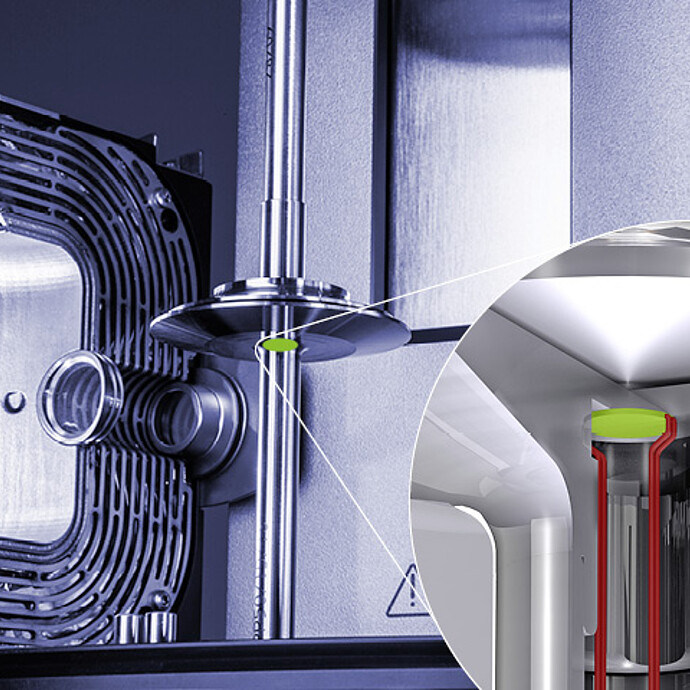
Control the greatest influence of all – temperature – by using high-precision temperature control units in combination with Anton Paar’s innovative optoelectronic technology. The technology enables contact-free data transmission based on light emission and the photovoltaic effect. This enables temperature determination without affecting torque sensitivity in Separate Motor Transducer (SMT) mode and also in counter-movement mode. The sensor is positioned directly in the measuring system very close to the sample (only 1 mm distance) which reduces possible offsets between the sample temperature and the temperature measured at the sensor. This enables the accurate determination of the sample temperature even during step or ramp-like temperature changes.
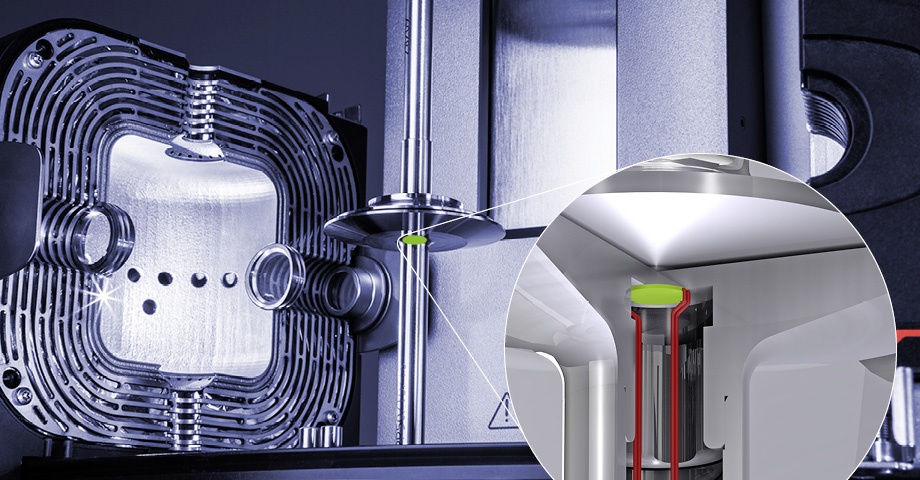
More than 200 accessories and smart features to fit all of your applications
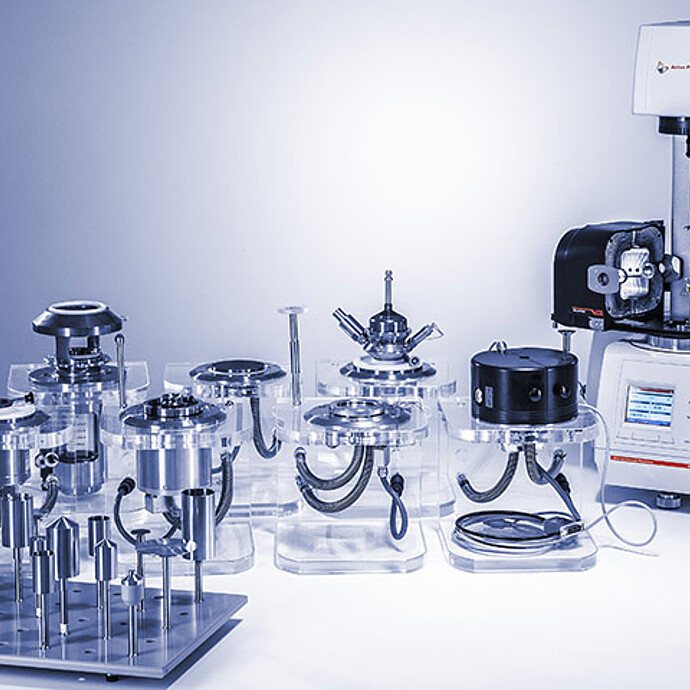
MCR 702e MultiDrive and MCR 702e Space MultiDrive are ready to be equipped with any measuring system, temperature device, and/or application-specific accessory known from the Anton Paar MCR series in order to carry out standard and sophisticated rheological analyses of your sample. The patented Toolmaster™ feature automatically recognizes and configures all connected devices and measuring systems. Additionally, the QuickConnect function allows one-hand connection of the measuring systems. Both features ensure the highest flexibility and minimum work needed to adapt the configuration to your needs.

Specifications
| MCR 702e MultiDrive MCR 702e Space MultiDrive | |||
| Technical Data | Unit | Configuration with 1 EC motor | Configuration with 2 EC motors |
| Bearing design | - | Air, fine-pored carbon | |
| Motor design | - | Electronically Commutated (EC) - Permanent Magnet Synchronous Motor | |
| Displacement transducer design | - | High-resolution optical encoder | |
| Normal force measurement design (US Pat. 6167752, 1996) | - | 360 ° capacitive sensor, non-contacting, fully integrated in bearing | |
| Active thermal management of bearing and normal force sensor | - | Yes | Yes |
| Working modes | - | Combined Motor Transducer (CMT) | Separate Motor Transducer (SMT), Counter Movement [1] |
| Minimum torque (rotation) | nNm | 1 | 1 |
| Minimum torque (oscillation) | nNm | 0.5 | 0.5 |
| Maximum torque | mNm | 230 | 230 |
| Minimum angular deflection (set value) | µrad | 0.05 | 0.05 |
| Maximum angular deflection (set value) | µrad | ∞ | ∞ |
| Minimum angular velocity [2] | rad/s | 0 | 0 |
| Maximum angular velocity Maximum speed | rad/s 1/min | 314 3000 | 628 6000 |
| Minimum angular frequency [3] | rad/s | 10 -7 | 10 -7 |
| Maximum angular frequency [4] Maximum frequency | rad/s Hz | 628 100 | 628 100 |
| Normal force range | N | -50 to 50 | -50 to 50 |
| With Exposed Support Plate (WESP / Space) [5] | - | Yes | Yes |
| Dimensions (W x H x D) | mm | 444 x 753 x 586 Space: 212 x 767 x 554 | 444 x 753 x 586 Space: 212 x 767 x 554 |
| Weight | kg | 48 Space: 51 | 58 Space: 61 |
| Additional Device Features | |||
| Device display with remote control of software (decoupled from measuring sensor for mechanical and electromagnetic interference prevention) | - | Yes | Yes |
| Direct strain/stress controller | - | Yes | Yes |
| TruRate™ / TruStrain™ (sample adaptive controller) | - | Yes | Yes |
| Raw data (LAOS, waveform) | - | Yes | Yes |
| Normal force profiles (set and read) | - | Yes | Yes |
| Velocity profiles, tack, squeeze | - | Yes | Yes |
| Automatic gap control/setting (AGC/AGS) | - | Yes | Yes |
| Electronic trim lock for measuring geometry | - | Yes | Yes |
| Fully automatic temperature calibration | - | Yes | Yes |
| TruGap™ (permanent control of the real measuring gap) (US Pat. 6499336, 2000) | - | Optional | Optional |
| T-Ready™ [6] (detection of sample temperature equilibrium time) (US Pat. 8904852, 2011) | - | Yes | Yes |
| Toolmaster™ (measuring geometries and accessories, storing of zero-gap) (US Pat. 7275419, 2004) | - | Yes | Yes |
| QuickConnect Coupling for measuring geometries (one-hand operation, screwless) | - | Yes | Yes |
| Trimming mirror (360° blind sample spot prevention) | - | Yes | Yes |
| Three-point support of device (three robust feet for tool-free one hand alignment) | - | Yes | Yes |
| Three-point support for mounting of measuring cells (wobble prevention, no misalignment after changing of cells) | - | Yes | Yes |
| Maximum temperature range | °C | -160 to +1000 | -160 to +1000 |
| Maximum pressure range | bar | up to 1000 | n/a |
| Ready for DMA in torsion and tension | - | Yes | Yes |
| Ready for Linear Drive (DMA in tension, bending and compression) (US Pat. 9574983, 2015) | - | Yes | Yes |
| Ready for tribology | - | Yes | Yes |
| Ready for powder flow and shear rheology | - | Yes | Yes |
[1] US Pat. 8453496
[2] In controlled shear stress (CSS) mode. In controlled shear rate (CSR) mode depending on measuring point duration and sampling rate.
[3] Theoretical value (duration per cycle = 2 years)
[4] Higher frequencies are possible using multi-wave functionality (942 rad/s (150 Hz) or even higher, depending on measuring system and sample)
[5] MCR 702e Space MultiDrive: Unique maximized workspace below the rheometer support plate and on both sides of the instrument
[6] Depending on used temperature device
Standards
ASTM
DIN
EN
ISO
European Pharmacopoeia (Ph. Eur.)
US Pharmacopoeia (USP)
DIN EN ISO
Standards
ASTM
DIN
EN
ISO
European Pharmacopoeia (Ph. Eur.)
US Pharmacopoeia (USP)
DIN EN ISO
Anton Paar Certified Service
- More than 350 manufacturer-certified technical experts worldwide
- Qualified support in your local language
- Protection for your investment throughout its lifecycle
- 3-year warranty
Documents
-
3-PB of Bitumen Using a Rheometer Equipped with an Additional Lower Linear Drive Application Reports
-
Accelerated Creep Testing of Polymers by the Stepped Isothermal Method Application Reports
-
Calculation of the Critical Shear Rate in a Cylinder Measuring System Application Reports
-
Characterization of Shape-Memory Materials Application Reports
-
Creep Behavior of Polyamide Immersed in Water Application Reports
-
DMA: Polymeric Foam Immersed in Fluid Media Application Reports
-
Determination of Humidity-Dependent E-Moduli Application Reports
-
Determination of Mechanical Properties of Balance Springs Application Reports
-
Dynamic Mechanical Characterization of Fully Bio-Based Composites Application Reports
-
E-Book - A Practical Guide for Great Building Materials Application Reports
-
Efficient Creep Investigation of Wood-Plastic Composites in Bending Mode Application Reports
-
How to Characterize Damage in DMA Measurements Application Reports
Similar products
Complementary products
If you do not find the item you require, please contact your Anton Paar sales representative.
MEAS. CONE CP25-1 FOR X2/XX2
MCR 702e MultiDrive | Space MultiDrive
D: 25 mm, angle: 1°
MEAS. SYSTEM CC27 FOR X2/XX2
MCR 702e MultiDrive | Space MultiDrive
D: 26.66 mm Consisting of:
- Meas. cylinder B-CC27
- Meas. cup C-CC27
MEAS. PLATE PP25/S FOR X2/XX2
MCR 702e MultiDrive | Space MultiDrive
D: 25 mm, sandblasted
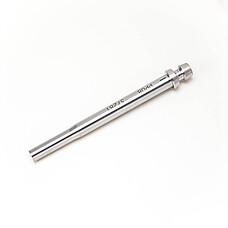
MEAS. PLATE PP08 FOR X2/XX2
MCR 702e MultiDrive | Space MultiDrive
D: 8 mm
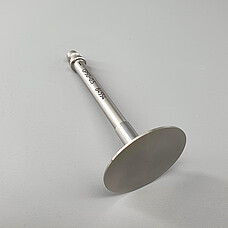
MEAS. CONE CP60-1 FOR X2/XX2
MCR 702e MultiDrive | Space MultiDrive
D: 60mm, angle: 1°
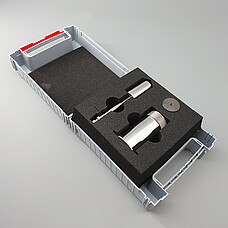
MEAS. SYSTEM DG26.7 FOR X2/XX2
MCR 702e MultiDrive | Space MultiDrive
D: 26.7 mm Consisting of:
- Meas. cylinder B-DG26.7
- Meas. cup C-DG26.7
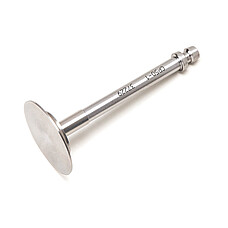
MEAS. CONE CP50-1 FOR X2/XX2
MCR 702e MultiDrive | Space MultiDrive
D: 50 mm, angle: 1°
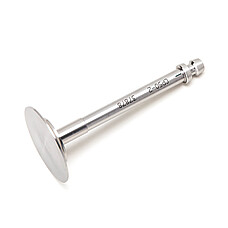
MEAS. CONE CP50-2 FOR X2/XX2
MCR 702e MultiDrive | Space MultiDrive
D: 50 mm, angle: 2°
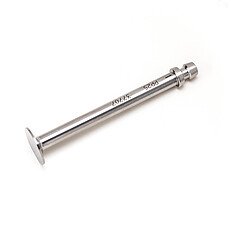
MEAS. PLATE PP25 FOR X2/XX2
MCR 702e MultiDrive | Space MultiDrive
D: 25 mm
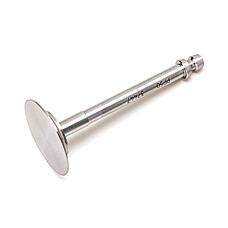
MEAS. PLATE PP50 FOR X2/XX2
MCR 702e MultiDrive | Space MultiDrive
D: 50 mm
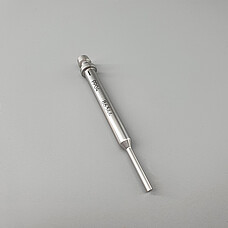
MEAS. PLATE PP04 FOR X2/XX2
MCR 702e MultiDrive | Space MultiDrive
D: 4 mm
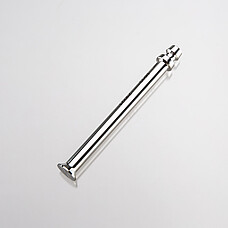
MEAS. PLATE PP15 FOR X2/XX2
MCR 702e MultiDrive | Space MultiDrive
D: 15 mm
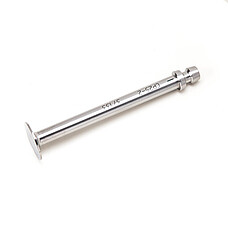
MEAS. CONE CP25-2 FOR X2/XX2
MCR 702e MultiDrive | Space MultiDrive
D: 25 mm, angle: 2°
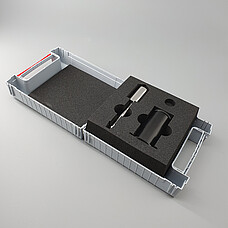
MEAS. SYSTEM DG26.7/AL FOR X2/XX2
MCR 702e MultiDrive | Space MultiDrive
D: 26.7 mm, aluminium Consisting of:
- Meas. cylinder B-DG26.7
- Meas. cup C-DG26.7/AL

MEAS. CONE CP25-0.5 FOR X2/XX2
MCR 702e MultiDrive | Space MultiDrive
D: 25 mm, angle: 0.5°

MEAS. PLATE PP12 FOR X2/XX2
MCR 702e MultiDrive | Space MultiDrive
D: 12 mm
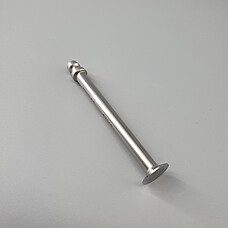
MEAS. CONE CP20-0.5 FOR X2/XX2
MCR 702e MultiDrive | Space MultiDrive
D: 20 mm, angle: 0.5°
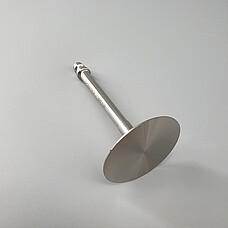
MEAS. CONE CP60-0.5 FOR X2/XX2
MCR 702e MultiDrive | Space MultiDrive
D: 60 mm, angle: 0.5°
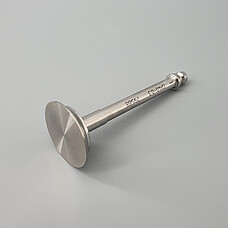
MEAS. CONE CP40-0.3 FOR X2/XX2
MCR 702e MultiDrive | Space MultiDrive
D: 40 mm, angle: 0.3°
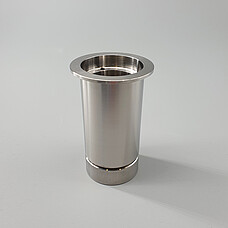
MEAS. CUP C-CC27
MCR 702e MultiDrive | Space MultiDrive
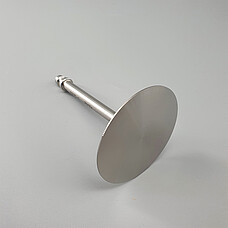
MEAS. CONE CP75-1 FOR X2/XX2
MCR 702e MultiDrive | Space MultiDrive
D: 75 mm, angle: 1°

MEAS. SYSTEM CC27/AL FOR X2/XX2
MCR 702e MultiDrive | Space MultiDrive
D: 26.66 mm, aluminium Consisting of:
- Meas. cylinder B-CC27
- Meas. cup C-CC27/AL

MEAS. SYSTEM CC17/AL FOR X2/XX2
MCR 702e MultiDrive | Space MultiDrive
D: 16.66 mm, aluminium Consisting of:
- Meas. cylinder B-CC17
- Meas. cup C-CC17/AL
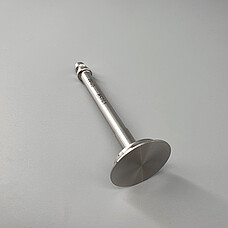
MEAS. PLATE PP40 FOR X2/XX2
MCR 702e MultiDrive | Space MultiDrive
D: 40 mm
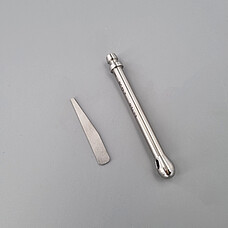
MEAS. SHAFT BC12.7 FOR XX2
MCR 702e MultiDrive | Space MultiDrive
D: 12.7 mm
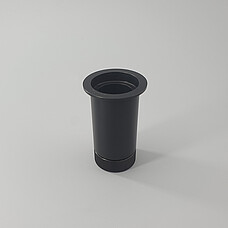
MEAS. CUP C-CC27/AL ALUMINIUM
MCR 702e MultiDrive | Space MultiDrive
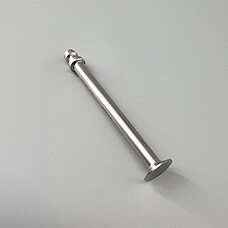
MEAS. PLATE PP20 FOR X2/XX2
MCR 702e MultiDrive | Space MultiDrive
D: 20 mm

MEAS. PLATE PP25/P2 FOR X2/XX2
MCR 702e MultiDrive | Space MultiDrive
D: 25 mm, profiled: 1X0.5
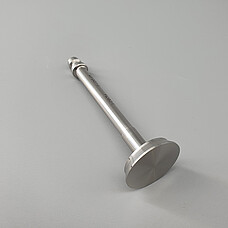
MEAS. CONE CP35-1 FOR X2/XX2
MCR 702e MultiDrive | Space MultiDrive
D: 35 mm, angle: 1°
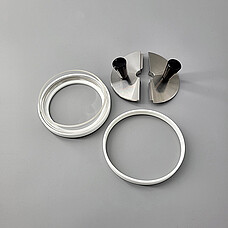
COVER / SOLVENT TRAP 80 mm GLASS| FOR P-PTD 200 / P-PTD 220
MCR 702e MultiDrive | Space MultiDrive
- with hight-adjustable ring made from glass and cover made from metall
- suitable up to 220 °C and solvent-based samples
- suitable as solvent trap for PP/CP measuring geometries > 25 mm
- suitable as cover for all PP/CP measuring geometries up to 60 mm
- can not be used in combination with active Peltier hood

MCR Rheometer Setups for:
Envelope Density
MCR 702e MultiDrive | Space MultiDrive
- Envelope density setup from the leader in powder characterization
- Buy an envelope density device and benefit from the full rheometer functionality
- Budget-friendly option for envelope density determination
- 21 CFR Part 11 compliant
- Automatic detection of setup to save time and eliminate errors
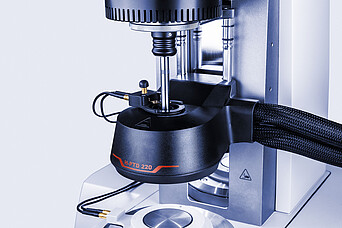
Temperature Control for MCR:
Peltier Systems
MCR 702e MultiDrive | Space MultiDrive
- Effective and convenient heating and cooling
- Temperature control with minimized temperature gradients from -50 °C to 220 °C
- Modular system for combination with Rheo-Optics accessories
- For cone-plate, parallel-plate, and cylinder measuring systems
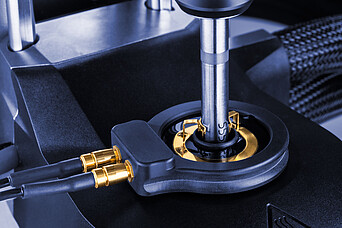
Accessory for MCR:
Dielectric Spectrometer
MCR 702e MultiDrive | Space MultiDrive
- Combine rheology and dielectric spectroscopy
- Study a material’s response to an applied electric field
- Gain information on a material’s structure and behavior

Optical accessory for MCR:
Rheometer-Infrared Spectrometer Adapter
MCR 702e MultiDrive | Space MultiDrive
- Accessory for structure analysis and rheo optics
- Lets you connect your infrared spectrometer with an MCR rheometer
- Investigates the chemical composition and rheology
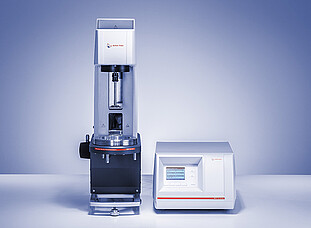
Rheo-Confocal Microscopy:
MCR 702e Space MultiDrive and Rheo-Optics
MCR 702e MultiDrive | Space MultiDrive
- Accessory for “Structure Analysis”: Rheology meets confocal microscopy
- MCR rheometer with all possibilities and maximum working space for sophisticated research
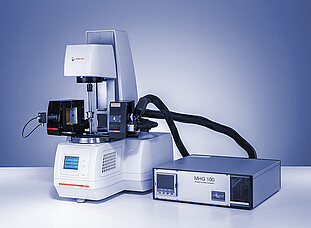
Accessory for MCR:
Humidity Option
MCR 702e MultiDrive | Space MultiDrive
- Accessory for “Additional Parameter Settings”
- Control the impact of the relative humidity on a material’s rheological behavior
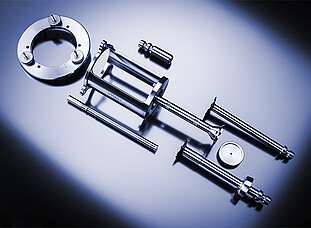
Accessory for MCR:
Cone Partitioned Plate
MCR 702e MultiDrive | Space MultiDrive
- For viscoelastic samples when performing LAOS and transient tests
- Reduces the impact of edge fracture effects
- Reduces errors due to sample trimming
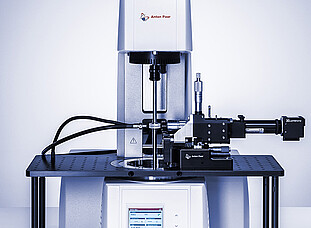
Option for a Rheometer with two EC Drives:
Rheo-Microscopy Setup
MCR 702e MultiDrive | Space MultiDrive
- Flow visualization in the stagnation plane
- Speed distribution between the two drives manually adjustable
- Direct assignment of images and videos to rheological data

Temperature Control:
Convection Temperature Devices (-160 °C to +1000 °C)
MCR 702e MultiDrive | Space MultiDrive
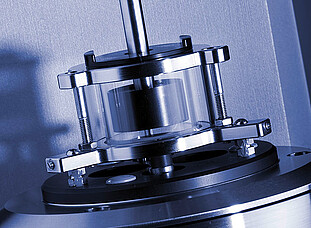
- For temperature-controlled rheological and DMA measurements on melts, solids, films, and fibers from -160 °C to 1000 °C
- Homogeneous temperature distribution for accurate & stable results
- For MCR measuring systems: parallel-plate, cone-plate, DMA in torsion or extension, controlled relative humidity, and more
Accessory for MCR Temperature Devices:
Low Temperature Options
MCR 702e MultiDrive | Space MultiDrive
- Combinable with electric and convection temperature devices
- Choice of solutions for different low temperature requirements: down to -40 °C, -90 °C, or -160 °C
- Toolmaster functionality for automatic system configuration and error-proofing
Accessory for MCR:
Particle Imaging Velocimetry
MCR 702e MultiDrive | Space MultiDrive
- Accessory for “Structure Analysis and Rheo-Optics”
- For visualization of flow fields
Accessory for MCR:
Rheometer Geometries
MCR 702e MultiDrive | Space MultiDrive
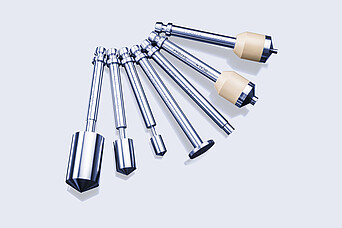
- Wide range of measuring systems for RheolabQC and the MCR rheometer series
- Concentric cylinder, double-gap, cone-plate, and parallel-plate systems, vane geometries and spindles, Krebs spindles
- Customized solutions upon request
Accessory for MCR:
DMA Measuring Systems
MCR 702e MultiDrive | Space MultiDrive
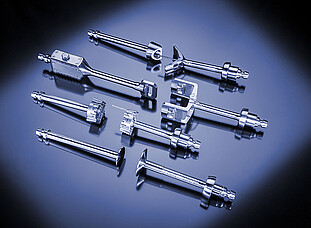
- For dynamic mechanical analysis (DMA) in bending, tension, torsion, and compression
- Solid rectangular fixtures, three-point bending geometries, cantilevers, compression systems
- Compatible with MCR 702e MultiDrive
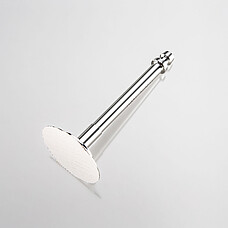
MEAS. PLATE PP50/P2 FOR X2/XX2
MCR 702e MultiDrive | Space MultiDrive
D: 50 mm, profiled: 1X0.5
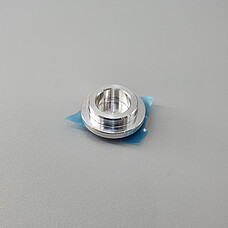
DISP. LOWER MEAS. PLATE D-L-PP08/AL/CTD D:
8 mm, ALUMINIUM, 1 pack = 10 pcs
MCR 702e MultiDrive | Space MultiDrive
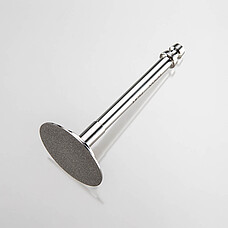
MEAS. PLATE PP50/S FOR X2/XX2
MCR 702e MultiDrive | Space MultiDrive
D: 50 mm, sandblasted
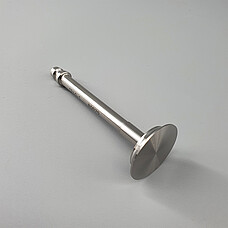
MEAS. CONE CP40-2 FOR X2/XX2
MCR 702e MultiDrive | Space MultiDrive
D: 40 mm, angle: 2°

MEAS. CONE CP50-0.5 FOR X2/XX2
MCR 702e MultiDrive | Space MultiDrive
D: 50 mm, angle: 0.5°

MEAS. CONE CP40-1 FOR X2/XX2
MCR 702e MultiDrive | Space MultiDrive
D: 40 mm, angle: 1°
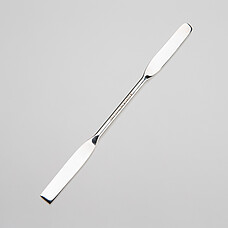
SPATULA
MCR 702e MultiDrive | Space MultiDrive
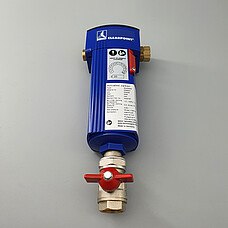
ACTIVATED CARBON FILTER FOR DRYPOINT AIR DRYER
MCR 702e MultiDrive | Space MultiDrive
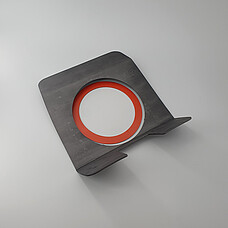
SPLASH GUARD FOR MCR 502/702/502e/702e
MCR 702e MultiDrive | Space MultiDrive
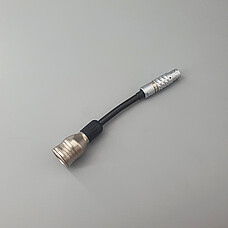
ADAPTER TD/8P-TD/18P MCR XX2 TO MCR X2
MCR 702e MultiDrive | Space MultiDrive
- cable to adapt temperature control devices of MCR xx2 to MCR x2 rheometer

DUST COVER MCR RHEOMETERS SUITABLE FOR MCR 502/702/302e/502e/702e
MCR 702e MultiDrive | Space MultiDrive
