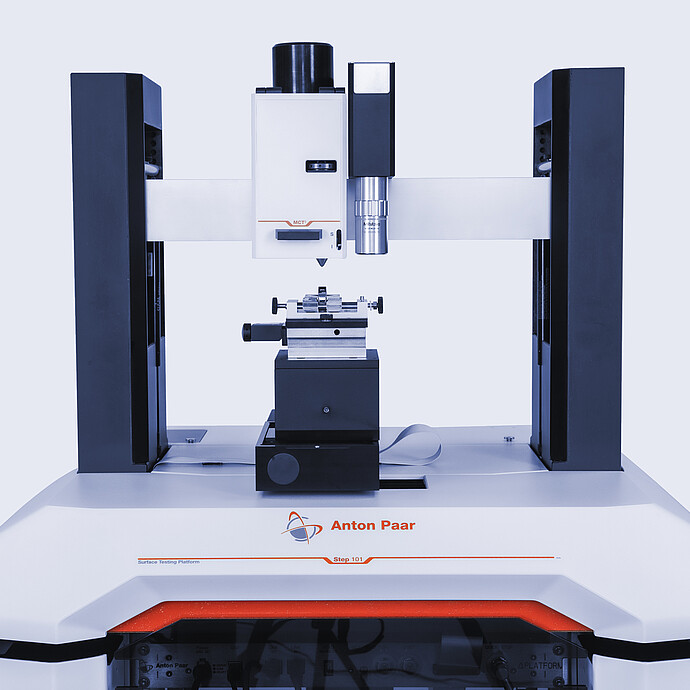
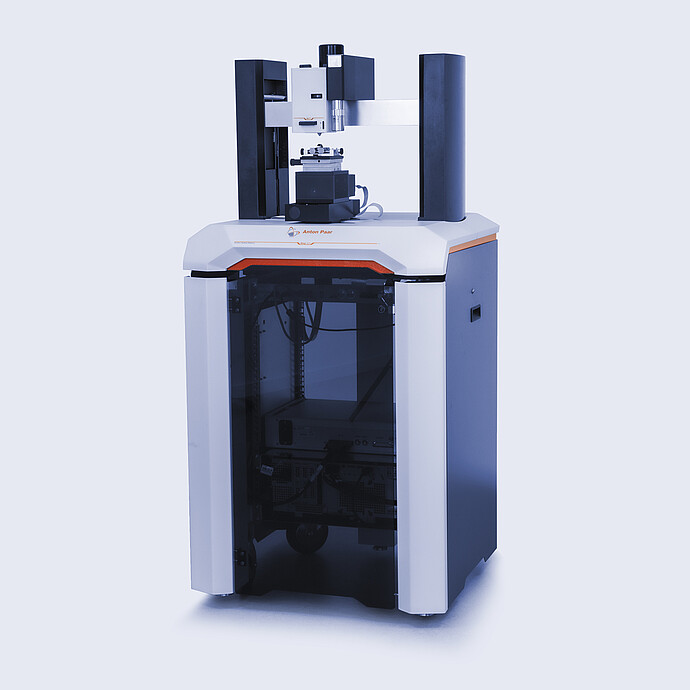
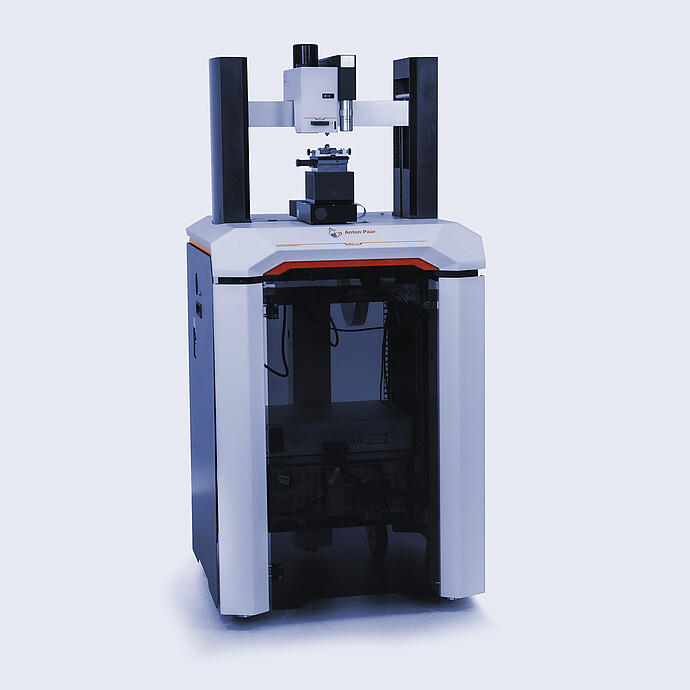
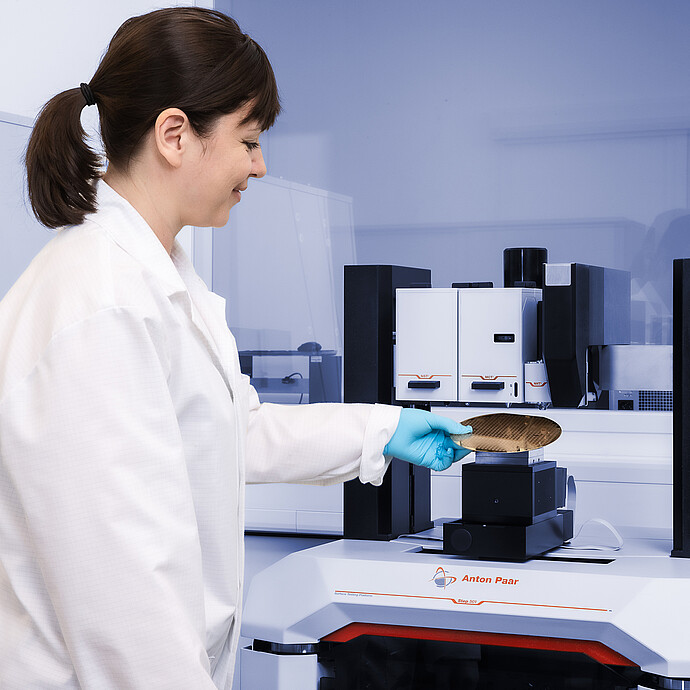
Micro Combi Tester:
MCT³
- One setup for instrumented indentation, scratch & tribology testing
- Measurement of hardness, elastic modulus, coating adhesion, scratch resistance, wear, and other surface mechanical properties
- For characterization of hard coatings, thermal/plasma spray coatings, cementitious materials, metals, and polymers
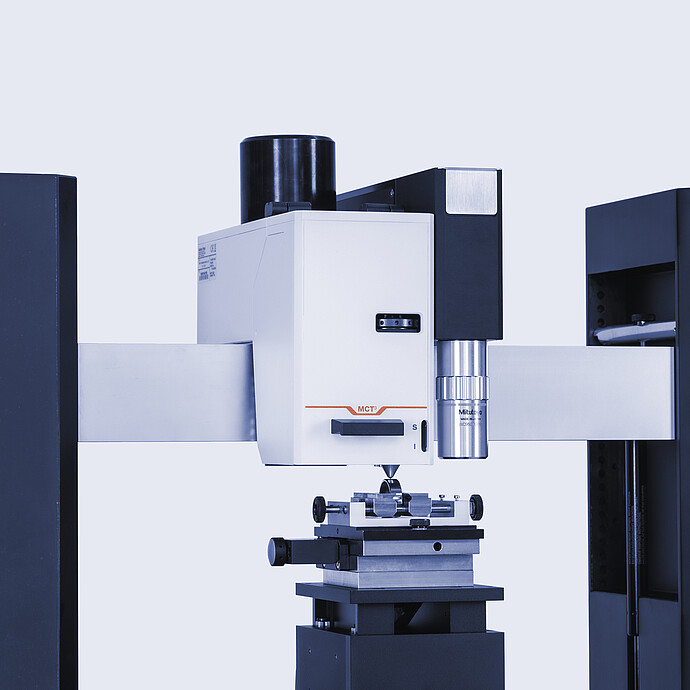
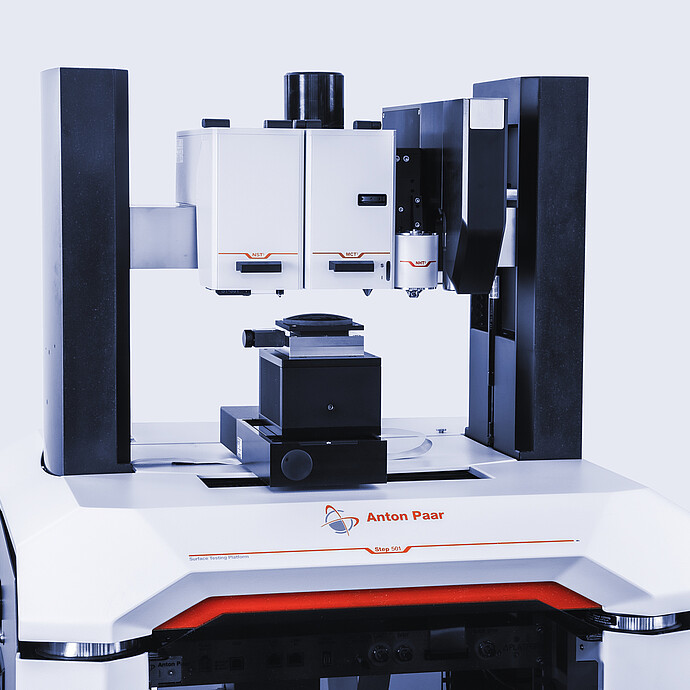
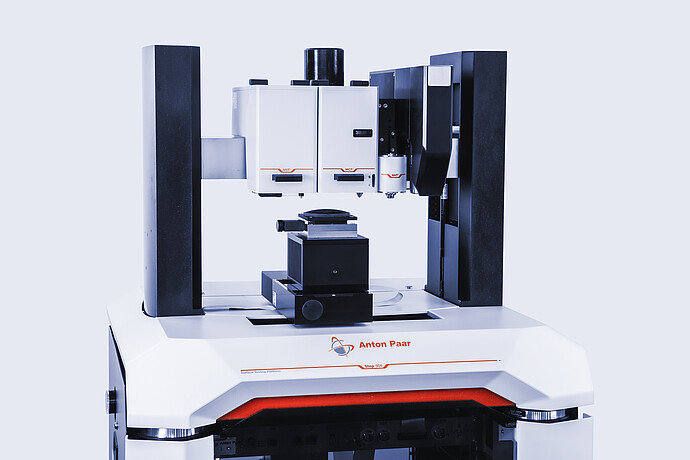
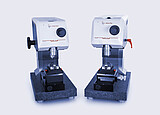
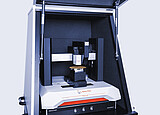
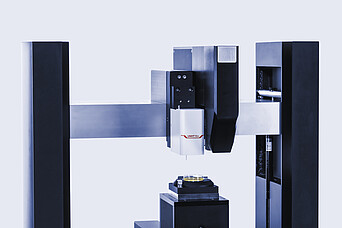
The Micro Combi Tester (MCT³) is a universal measurement head for full mechanical characterization of coatings and bulk samples.
The unique wide load range of this instrument allows the determination of adhesion, scratch resistance, hardness, elastic modulus, friction, and wear for a wide range of samples. It is applicable to organic and inorganic as well as soft and hard coatings (between 1 µm and 20 µm), and also bulk materials.
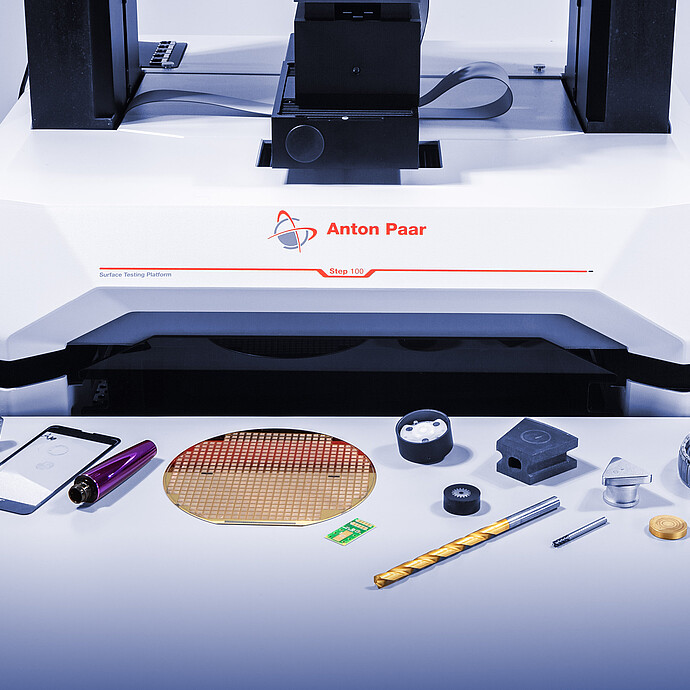
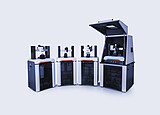
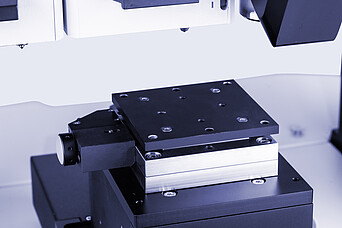
Combine instrumented indentation testing heads with scratch testing heads, a nanotribometer, and even an atomic force microscope on a unique Step surface testing platform.
Key features

Three in one: Full scratch, instrumented indentation, and tribological testing
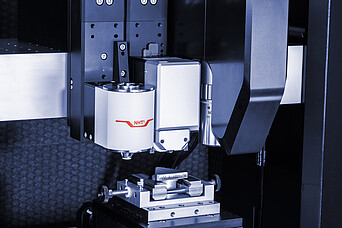
The unique mechanical design incorporates three different mechanical characterization measurement methods in only one measurement head without any compromises in the measurement quality. With one and the same head you can perform measurements of coating adhesion and scratch resistance by scratch testing, hardness and elastic modulus by instrumented indentation testing (IIT), and friction and wear by multi-pass tribological testing.

Fully automated mechanical characterization tester
Like all scratch testers from Anton Paar MCT³ has an automatic detection for critical loads. Using the signal of friction force, penetration depth, or acoustic emission, an algorithm analyzes these signals and automatically determines the critical loads without subjecting them to any operator influence. Furthermore, hardness and elastic modulus can be determined at various positions (user defined matrix) in a single measurement by the instrumented indentation technique.

The ideal load range to cover a wide range of applications
MCT³ is able to perform scratch and instrumented indentation (IIT) tests from small depths (a few nm for surface detection) to great depths (maximum 1 mm). Its wide range of applied and measured force
(from 10 mN to 30 N) matches almost all sample characteristics. This load and depth range is ideal for the mechanical characterization of hard coatings (PVD, CVD from 1 µm to 20 µm), thermal/plasma spray coatings, cementitious materials, metals, and polymers.

Patented Synchronized Panorama Mode
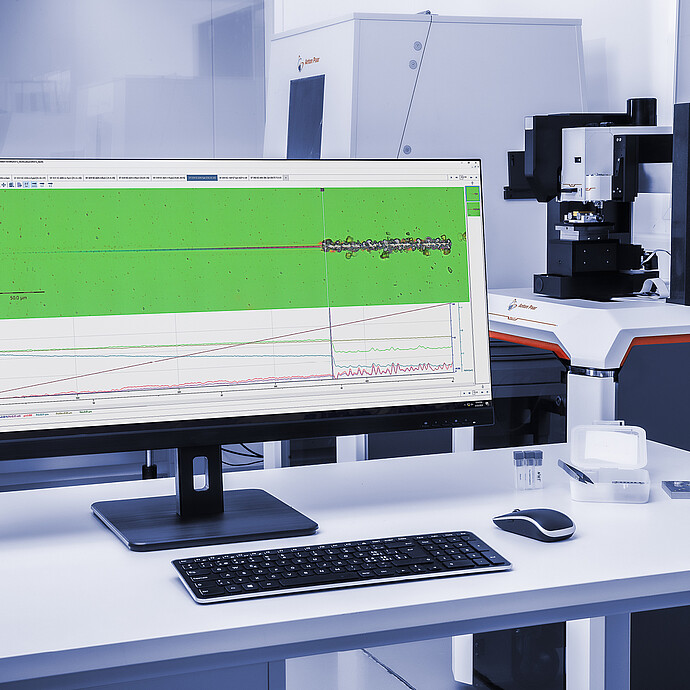
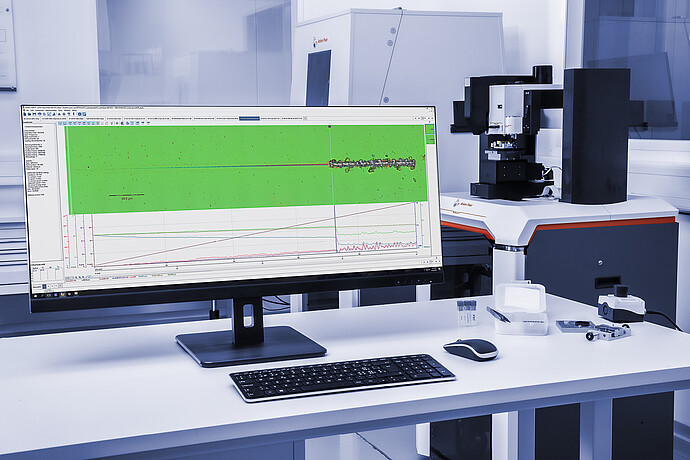
This unique feature automatically synchronizes the recording of all sensor signals with the whole scratch image in perfect focus. Thus the critical loads can be easily identified by observing the synchronized optical and signal recordings. Anton Paar is the unique holder of the U.S. patent 8261600 and the European patent EP 2065695.

Perfect results even for curved and uneven surfaces
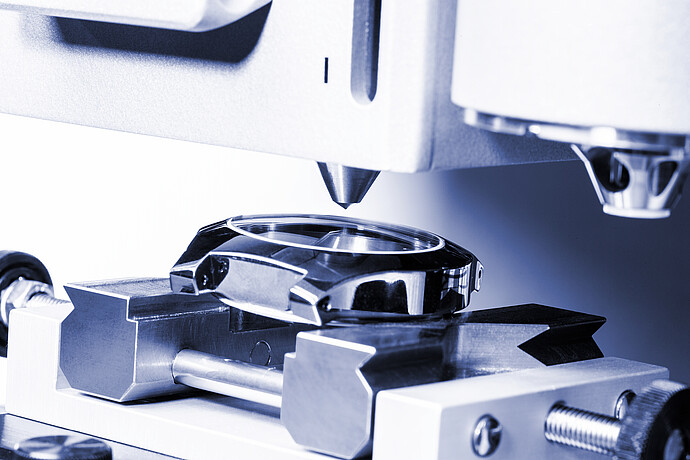
Due to its unique force sensor control, the MCT³ scratch system detects every surface deviation and the active force feedback corrects these deviations.
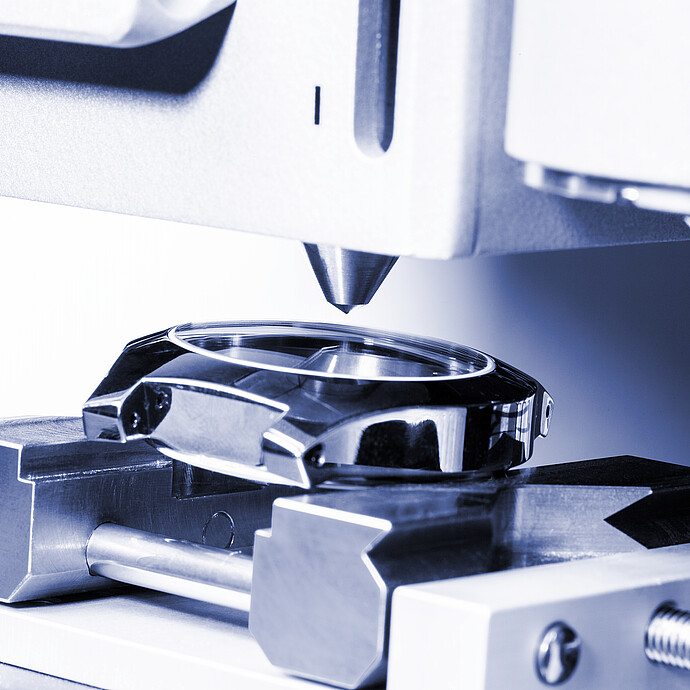
Regardless of the shape of the sample, MCT³ is capable of performing perfectly reliable measurements on uneven and curved surfaces (e.g. lenses) by following the shape with total control of the desired load.
Technical specifications
Maximum load [N] | 30 |
Load resolution [μN] | 6 |
Load noise floor [rms] [μN] | 100 |
Loading rate [N/min] | up to 300 |
Depth range [μm] | 1000 |
Depth resolution [nm] | 0.03 |
Depth noise floor [rms] [nm] | 1.5 |
Data acquisition rate [kHz] | 192 |
Scratch speed [mm/min] | 0.1 to 600 |
Options | |
Peltier heating up to 120 °C | ✓ |
Heating stage up to 200 °C | ✓ |
Cooling down to -120 °C | ✓ |
Liquid testing | ✓ |
Standards
ASTM
ISO
Anton Paar Certified Service
- More than 350 manufacturer-certified technical experts worldwide
- Qualified support in your local language
- Protection for your investment throughout its lifecycle
- 3-year warranty
Documents
-
Adhesion of coatings in Li-ion battery electrodes by scratch test Application Reports
-
Applications of indentation and scratch in automotive industry Application Reports
-
Applications of indentation in polymer industry Application Reports
-
Applications of nanoindentation in biology and medicine Application Reports
-
Applications of scratch testing in polymer industry Application Reports
-
Biofouling – when Adhesion is a Double-edged Sword Application Reports
-
Biomedical applications 2: Adhesion and scratch resistance by scratch testing Application Reports
-
Characterization of electrodes in lithium-ion batteries by nanoindentation Application Reports
-
Characterization of polymers and polymeric paints by MCT3 Application Reports
-
Characterization of the scratch resistance of ceramic tiles: Part I Application Reports
-
Comparison of nanoindentation with conventional hardness Application Reports
-
Contribution of nanoindentation and tribology to investigation of welds Application Reports
-
Elastic modulus of compacted powders measured by nanoindentation Application Reports
-
Field Guide to Battery Materials Characterization – Revised and Updated Application Reports
-
Hardness and adhesion of hard coatings on cutting tools Application Reports
-
How to deal with roughness in nanoindentation measurements Application Reports
-
Material Characterization for Battery Cell Manufacturing Application Reports
Similar products
Consumables & Accessories
Accessories
Accessories
To find out if you can purchase online from your location, check the online availability below.
If you do not find the item you require, please contact your Anton Paar sales representative.

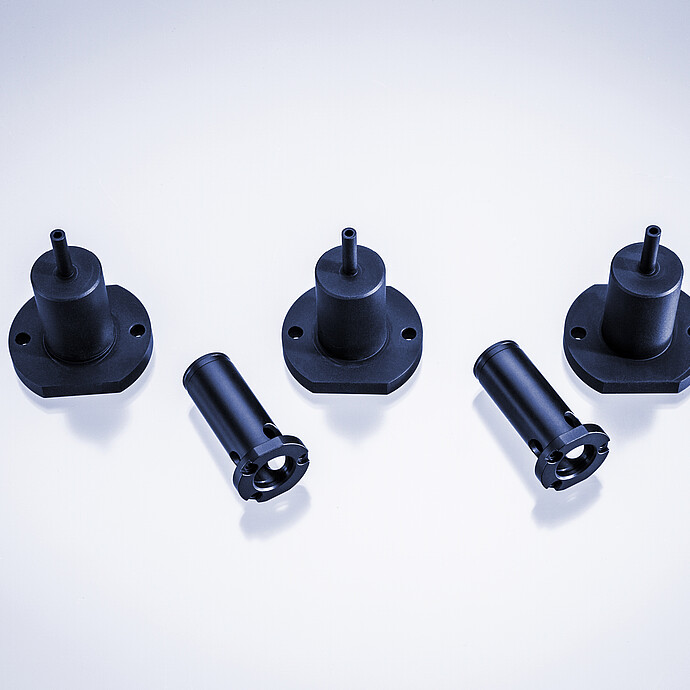
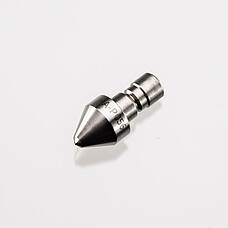
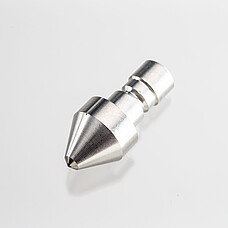
VICKERS DIAMOND FOR MCT / RST

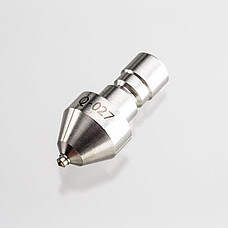
SPHEROCONICAL DIAMOND R = 20 µm / 120° FOR MXT / RST ROCKWELL

SPHEROCONICAL DIAMOND R = 50 µm / 120° FOR MCT / RST ROCKWELL

SPHEROCONICAL DIAMOND R = 100 µm / 120° FOR MCT / RST ROCKWELL

SPHEROCONICAL DIAMOND R = 10 um / 90° FOR MXT / RST